Big Girl Room Upgrade
- parentingandheels

- Nov 9, 2019
- 2 min read

Photo by Moments Captured by Hannah
When we found out we were having Brooklyn, we decided it was time for a change for this big sister’s room! Her only request for her room was for it to be purple. I already had my heart set on painting her room this dreamy pink so we compromised and got this Pillow fort pin tuck comforter.


Photos by Moments Captured by Hannah
I linked all of her room decor in my LIKEtoKNOW.it . There were some things I wanted to customize for her room so I did them myself. I’m not a super crafty person so I chose to do some simple projects that gave it a personal touch.
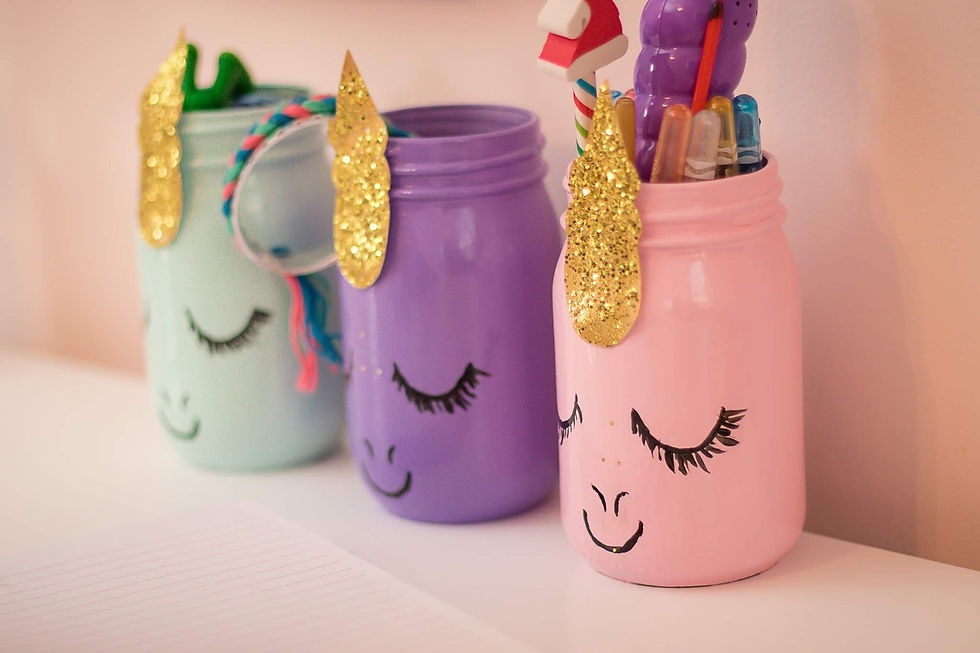
Unicorn Pencil Holders

Photo by Moments Captured by Hannah
This was actually way easier than it looks!
Materials:
3 mason jars
acrylic paints
large and fine paint brushes
card stock
gold glitter
clear spray paint
•Start by painting the jars each a different color. You don’t need to paint the inside. Just the outside. Do at least two coats.
•Once it’s dry use your fine tip paint brush or paint marker and draw the faces. They’re basically just half moon shapes.
•Cut out horns from card stock. I just drew one and then traced the others to make them uniform. Cover with glue and generously shake glitter onto them. Once dry you can glue them onto the fronts.
•Spray clear paint all over the jars (including horns). I did several coats to be sure the jars and horns wouldn’t chip.
Inexpensive Gold Desk Lamp

I couldn’t find any gold lamps I liked so I found this inexpensive lamp. It was originally black. I taped off the cord and glass underneath and spray painted it gold. Easy peasy!
Personalized Art

•For the gold letters I simply bought wooden initials at Hobby Lobby and painted them gold. I love how hanging them vertically turned out! It makes the whole space really pop.
•The aqua picture frame is just an inexpensive frame I found that I painted the same color as one of the unicorns. I printed a black and white photo of her and taped it onto printer paper to create a border. Seriously...printer paper.
•The artwork above her bed is a frame I already had in her nursery. I popped the back off and removed the picture. I kept the white paper that was already in it and wrote the quote (which is my favorite by the way) with a gold Sharpie marker. I faintly drew lines in pencil with a ruler so it would look even and then erased them when I was done. Stapled the back on and voila!!
•The gold heart decals I found on Amazon and just placed them on the wall to make it look like it‘s raining hearts (closer together at the top and further apart at the bottom).
I had so much fun putting her room together and it turned out so cute!! I couldn’t be more pleased with it. And of course she loves it too! Now she has her own space to escape to when her little sister’s being a pest 😉.


Comments